200cc HardKnock Build
Details
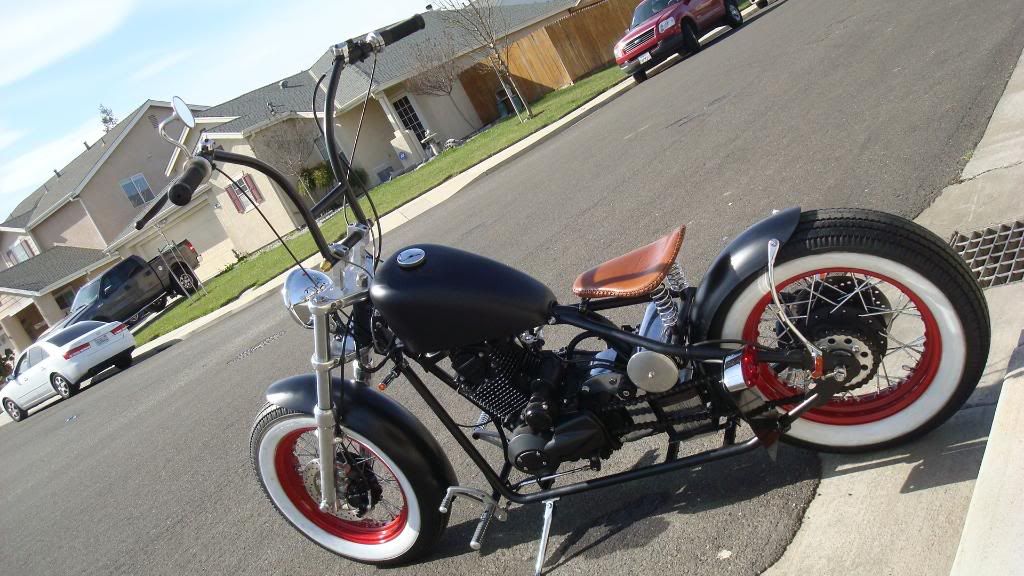
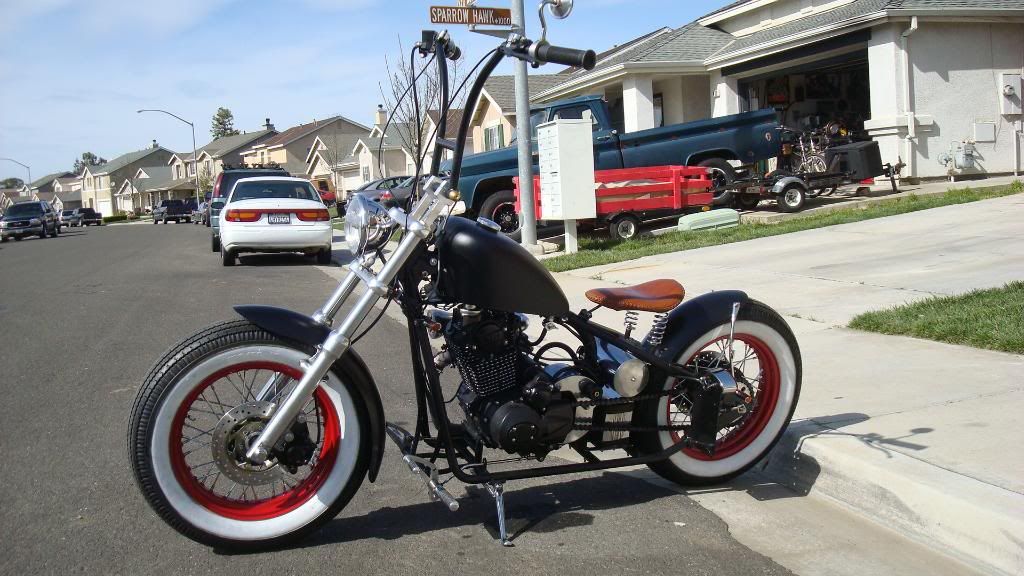
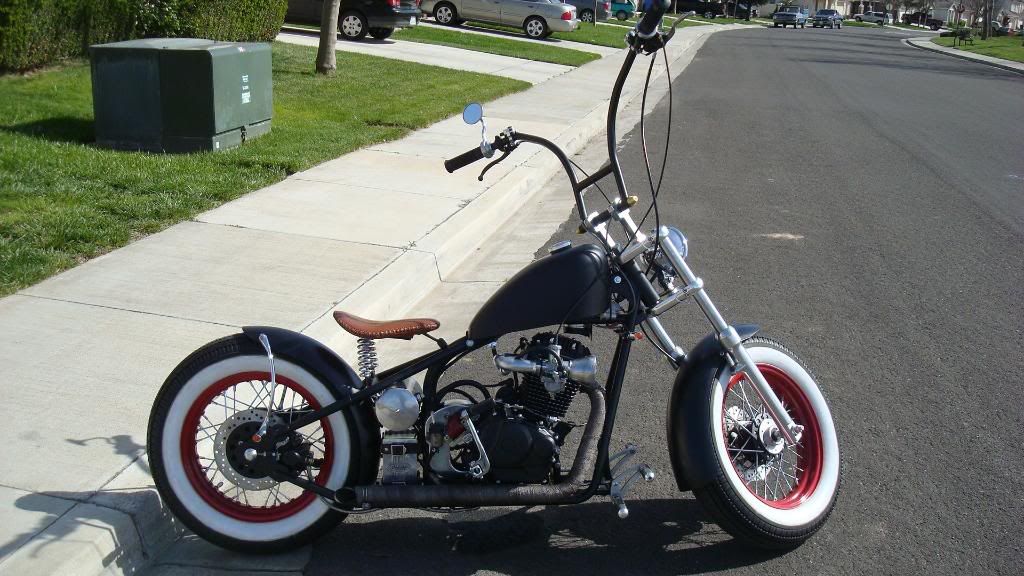
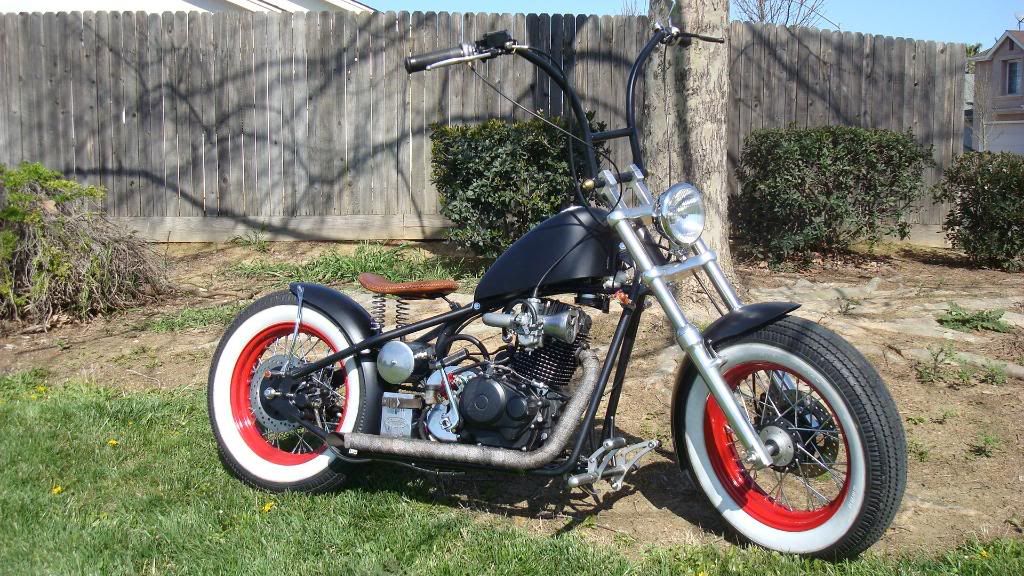
So when you finally do receive your boxes via a currier it is time for you to rip them open and start building your Hard Knock. All this information goes for a 125cc also. Keep this mind if you bought a 125cc hard knock.

1.First thing you will want to do is a set up a table and through a Black sheet over the table so you can find all your blingy shiny parts when you are ready to install them.

2.Next is to split your frame crate buy unswerving a few pipe clamps to make it much more user friendly and cheap to build your bike at comfortable height. Put the bottom crate on top of the top crate and use C- clamps to secure it from falling over on you at start up.


3.Next take out the starter solenoid, blinker flasher and CDI out of the fake oil can. Uninstall the fake can and line it with Blue felt using white craft glue and be sure to Cut out all holes for wires and hard ware when you reinstall it back. This little ounce Of prevention will save you form wires arcing and blowing fuses later on. So do not Be a lazy ass miss this step. It will bite you in the ass later when trouble shooting.


4. While your can is drying from the glue take a few minutes to upgrade your pos stock fuse with a more reliable flat blade car type fuse able link. Found at any Auto parts store for a few bucks. 10 or 15amp fuses is more then enough for this electrical system.

5. Now you can unbolt the top tree on your Forks and grease the bearings before you install your fork assembly. This is also a very good time to up grade all the 6mm Allen Head bolts with American grade steel. You will not be happy breaking off a bolt head in these very nice aluminum trees. So you better change them now.


6. Take a round file to the inside of your stock riser to remove all the aluminum slag from manufacturing. If you do not your 7/8” bars will NOT tighten down properly at all. Then you can install them after you up grade the hardware here too.


7. It will be to your benefit at this point to install the Rear brake reservoir and actuator along with the brake rod and rear brake switch. You might want to also re tack weld the tube tabs to the frame because they have been known to brake off and you will end up with your rear brake unit dangling in the wind.
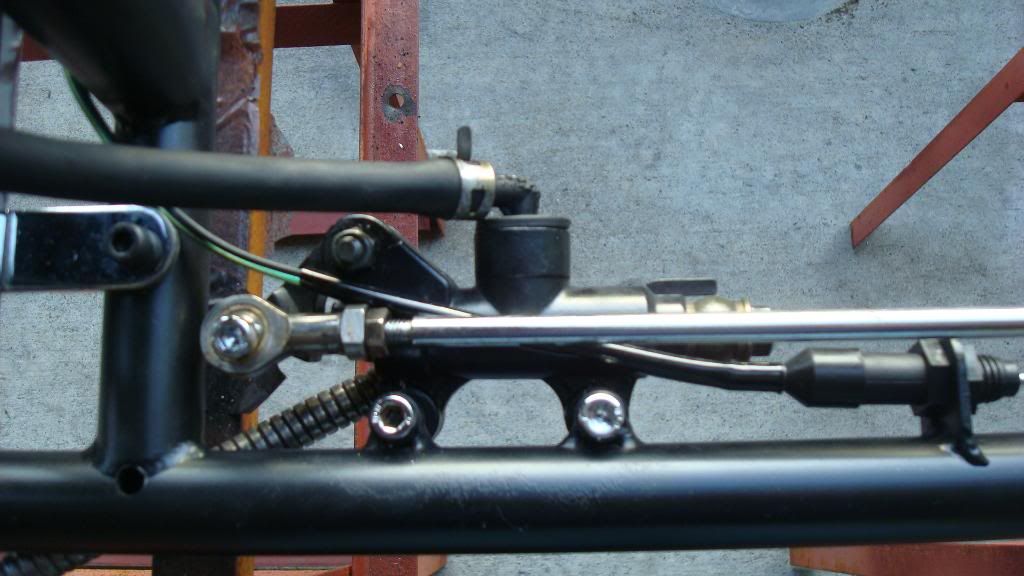

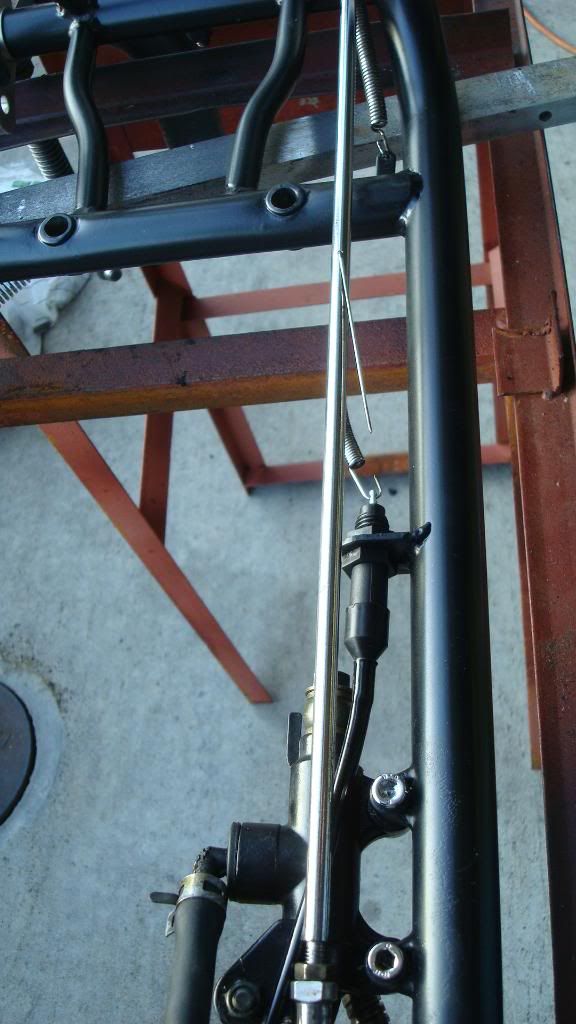
8. Take a 13/32” drill bit and ream out the front two motor mount support bracket holes in the frame. Why? Because they’re slightly off and puts way to much pressure on a solid mounted motor and the bolts will shear in two from the vibration. You are also going to have to shim both sides with 3 washers because the bracket is to short also.


9. Now you can reinstall your fake oilcan after a day of drying. Make sure also to change the location of the batter box to the top of the frame rails to make access to your battery much easier. You will have to change the position of the rear brake reservoir with an added spacer on the back to clear the motor mount bolt head.


10. Before you even think about installing the motor the frame you are going to want to adjust the intake and exhaust valves. Most of the motors come lose as a goose and will want to adjust the valves for much better performance form the start. Make sure your are TDC with the V on top of the head before doing any adjusting.

.005 on intake.

.006 on exhaust

11. After you button up your motor you can now install it in to your frame along with the rear fender. At this point you can have your Knock 90% put together and fired up and tuned out before making it a roller at all. It so much easier to work at this height for 90% of the build.

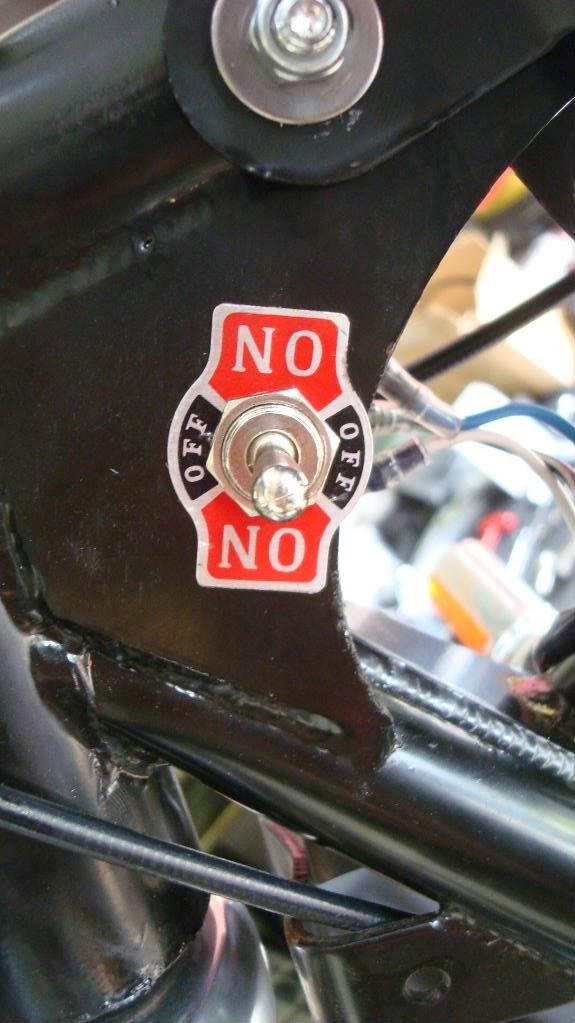
12. You might want to install an ON/Off/ON toggle switch for tuning your Headlight off when you electric start if you so desire to keep your batter fresh. Both on’s is for High and Low beam.
13. Hers is a really good tip if you can do it or have it done for you. On a 200 motor set up I would relocate the petcock to the back left side of the stock gas tank. Why? You ask. Because the inlet to the Carb is on the left side and you will also get a huge gas mileage increase on this small 1.5 gallon gas tank. If you like living at gas station then just leave it stock.


14. I would strongly urge you to take out the exhaust studs on the motor and replace them with a bolt with a jam nut to insure your exhaust will NOT come loose due to harmonic Vibrations or Broken STUDS. A broke stud in a aluminum head is not fun to get out if one happens to brake on you.

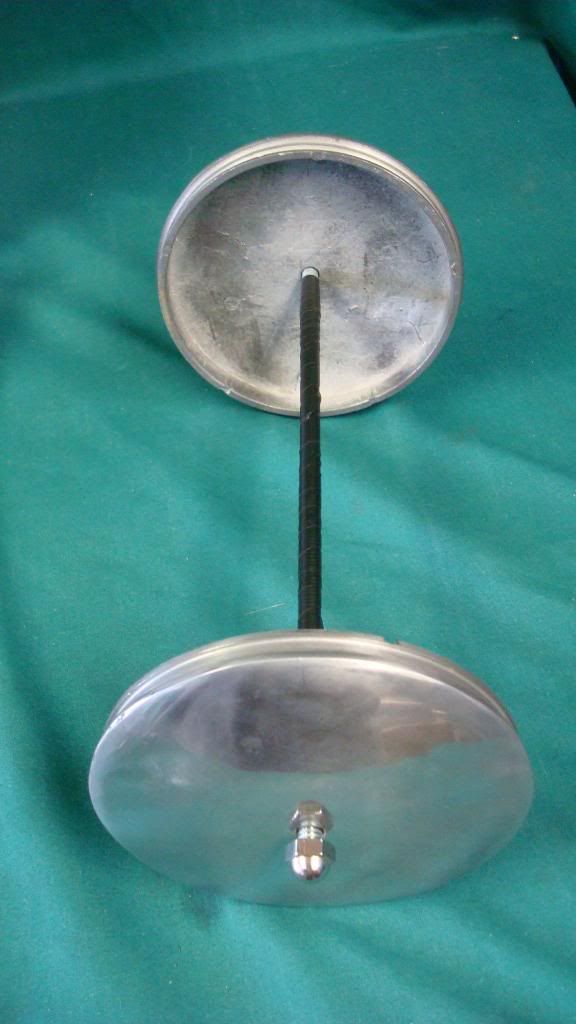
15. Here is another tip to insure you will not loose your fake oil can covers on the road some were. Just use ¼ inch all thread with some nice cap nuts and be sure to shrink-wrap or use electrical tap on the all threads so not arcing will not accrue.
16. Here is another way to run a Hand clutch set up if you choose to so verses the stock FOOT clutch set up. Cut off the stock cable clip and buy a cheap cable clamp set up and use a regular BICYCLE cable to run your hand clutch set to the lever.


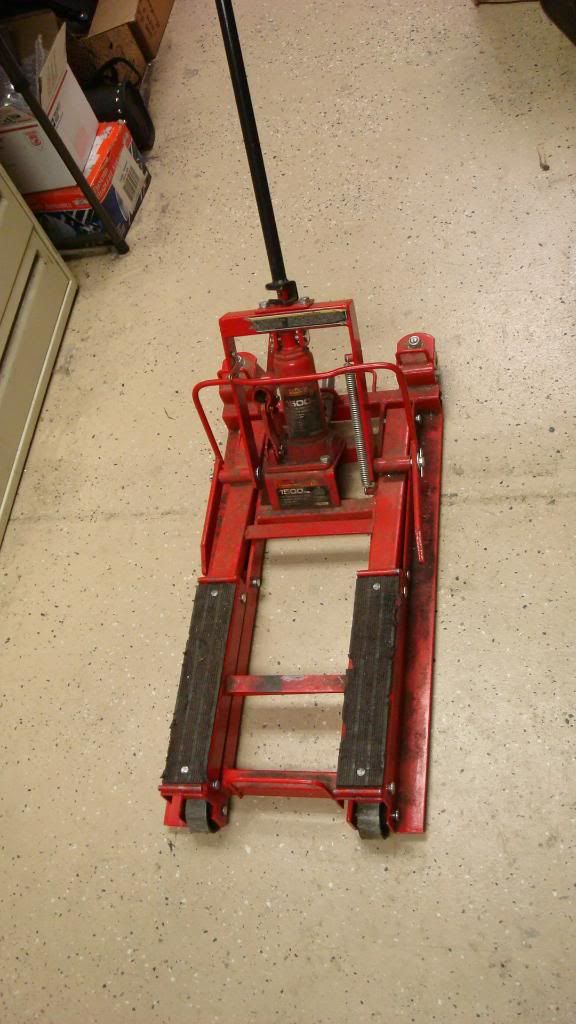
17. Now you can take the frame off the stock crate and use a motorcycle jack or some milk crates to install your wheels to make it a true motorcycle.
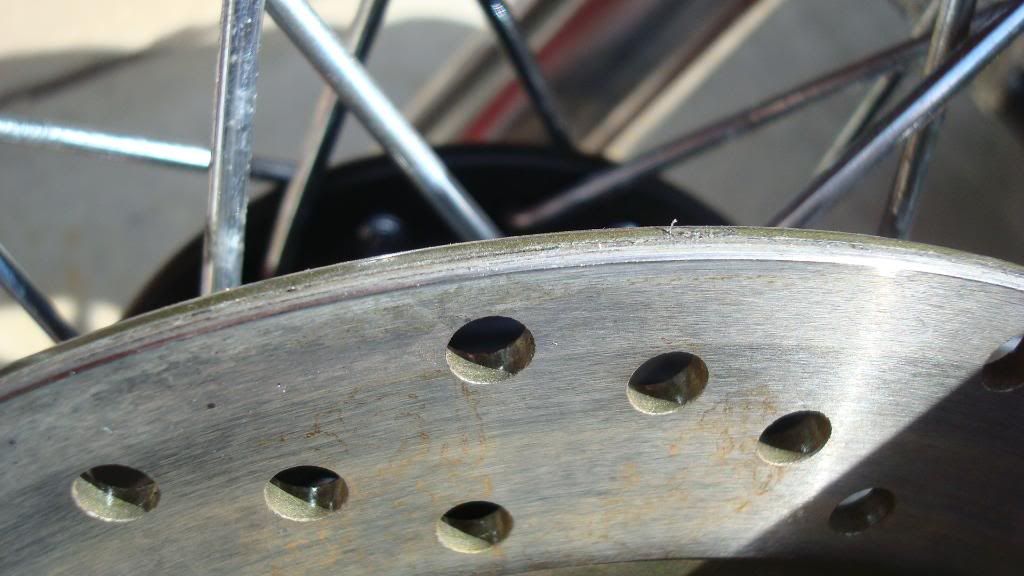
18. If you start here some kind of grinding coming from the front wheel it most likely the brake caliber floating stud bolt hitting the rotor. To fix this take a grinder with a soft pad on it and grind a slight angle on your Front rotor to take some metal off so it will not hit the bolt head.

